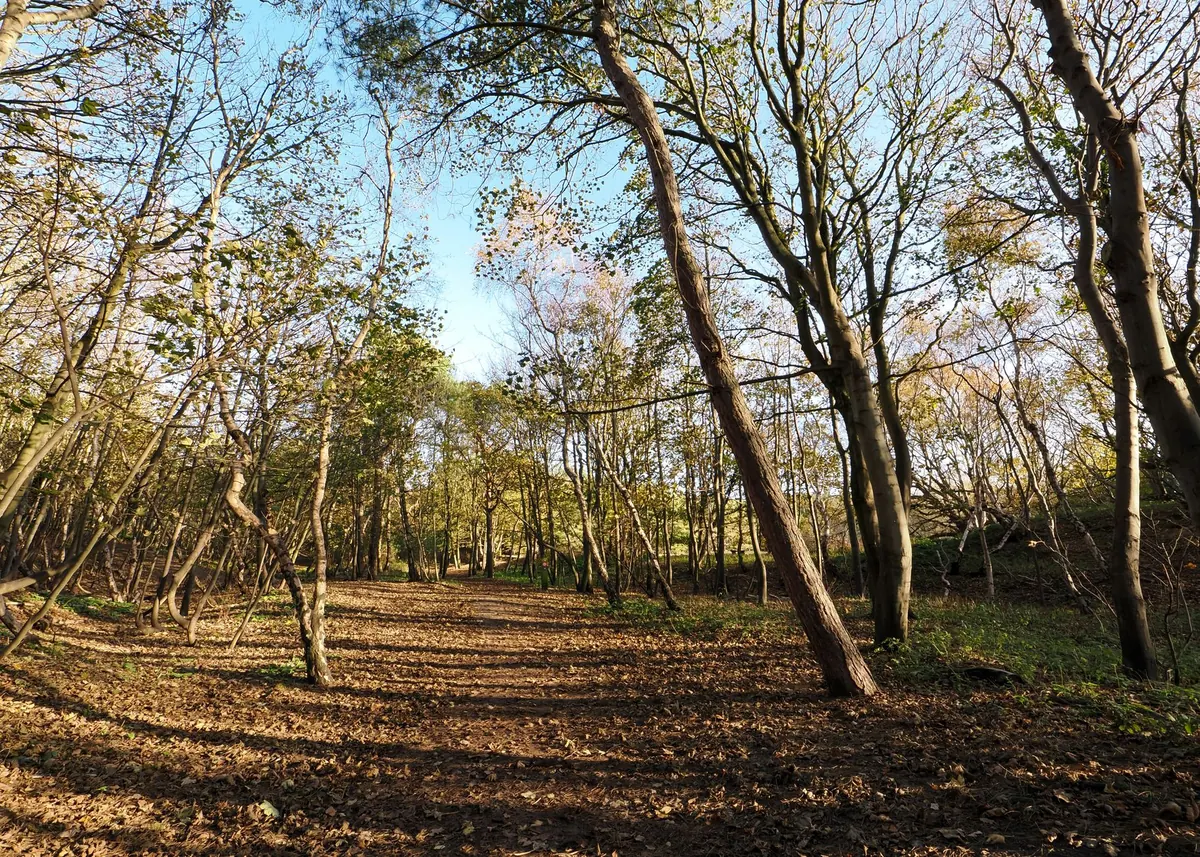


Hazel is the great survivor of British woodland. Left alone, it becomes a dense thicket of arching stems; cut it back to the ground every few years and it rewards you with long, straight poles — and keeps doing so for centuries. Coppicing is simply the old craft of cutting woody growth down to a stump, or stool, and harvesting what grows back. Hazel is the ideal species to learn on: forgiving, fast, and genuinely useful.
What a Cut Does to a Hazel Stool
A hazel stool is that knuckled, woody boss at ground level from which all the stems rise. Bury a bud or two of dormant growth in it and it will produce a fresh crop. Cut a stem in winter and the stool responds by pushing up not one replacement but several, drawing on a root system that has been in place for decades. That is the whole trick: you are borrowing the tree's established roots to grow straight, knot-free rods quickly.
Old stools are often far older than they look. A hazel cut on rotation since medieval times can still be under a metre across, quietly renewing itself. First-year growth will reach head height; by year seven or eight you have rods long enough to weave a hurdle. Historically, hazel coppice was grown for sheep hurdles, wattle panels, thatching spars, besoms and charcoal — a working crop, not a decoration.
When to Cut
Cut in winter, from leaf fall until the buds break in early spring — roughly November to early March. The sap is down, the wood is lighter to handle, and the stool has the whole growing season ahead of it to push up new shoots. Cutting late in spring wastes that advantage and weakens the regrowth.
Avoid working in hard frost, when stems are brittle and the ground is treacherous underfoot. From roughly March to August, birds and dormice may be nesting in the stools and scrub, and their nests are protected while in use, so leave cutting until winter.
Two permissions to check first: the landowner's, always, and the local authority's if the tree is covered by a Tree Preservation Order, sits in a conservation area, or forms part of a protected site. If in doubt, ask before you lift a saw.
Tools for a Beginner
You need less than you think, but what you have must be sharp.
- A pruning saw for stems up to wrist thickness — a straight Japanese-style saw cuts fast and clean.
- Loppers and secateurs for brash, thin shoots and tidying the cut ends.
- A billhook or small axe if you like traditional tools, though saws are quicker on green hazel.
- A file or sharpening stone, used often. A blunt saw tears bark and leaves a ragged stool.
- Gloves, eye protection and sturdy boots; a helmet if anything is overhead.
- Twine or baler band for bundling rods, and a barrow or tarpaulin for carrying them out.
A chainsaw will make short work of a mature stool, but only use one if you have been trained and are confident; the low, awkward cuts involved in coppicing are not the place to learn. Check with a qualified trainer or your local woodland group if you want to go that route.
Cutting the Stool: Height and Technique
How low you cut matters more than how fast you cut.
- Clear the base of the stool first, cutting back brash and brambles so you can see what you are doing and stand safely.
- Cut each stem at roughly 10–20cm above ground — low enough to keep the stool compact, high enough to avoid the buds clustered near soil level. Leave it higher than about 30cm and you create a "leg" that rocks in the wind and produces weak, poorly anchored regrowth.
- Angle the cut slightly downwards and away from the centre of the stool, so water runs off rather than sitting in the wound.
- Work steadily around the stool, cutting the leaning and awkward stems first so the rest fall clear. Take the weight off tall stems with a second cut if they are likely to split.
- Leave a clean, sloping surface with no snags of torn bark. Never cut into the old wood below the previous cut level — that is how stools are killed.
- On a tired or very old stool, leave two or three of the strongest stems standing to keep it fed, and cut them next time round.
Sort as you work. Long, straight rods go one way; pea sticks, kindling and brash another. A tidy stool in a tidy clearing is far easier to return to next winter.
Choosing a Rotation Length
Rotation is the number of years between cuts on the same stool, and it is decided by what you want from the wood.
Short rotations, three to five years
Pea sticks, small stakes, plant supports and bundles of kindling. The rods are whippy and easy to handle, and you can cut a lot of them in a morning.
Medium rotations, seven to ten years
The classic hazel rotation, and the one most beginners end up using. This gives hurdle rods, beanpoles, garden obelisks and wattle panels — long, straight, supple stems that bend without snapping.
Long rotations, twelve to twenty years and beyond
Heavier poles for structural work, rustic furniture, gates and tool handles. Yields are bigger but less frequent, and very old stools benefit from a gentler cycle rather than a hard cut every few years.
The practical answer is not to cut everything at once. Divide your stools into as many groups as your rotation has years — seven groups for a seven-year cycle — and cut one group each winter. You get a harvest every year and a wood that always has stems of different ages, which is exactly what wildlife such as dormice, butterflies and woodland birds want.
Storing and Using the Rods
Hazel dries quickly and, if left in the sun, splits and twists. Bundle the rods into faggots with two ties, then stack them off the ground on bearers in a dry, airy shed or under a sheet. Standing bundles upright against a wall works well for long poles; shorter rods can be laid flat and weighted. Keep them out of direct sun and away from radiators.
Green rods are flexible and are the best choice for weaving. Once dry, rods stiffen; they can be soaked for a few days to bring back enough suppleness for hurdling, but they will never bend quite as kindly as freshly cut wood. If you plan to make hurdles, cut and weave in the same winter.
What to do with the crop:
- Hurdles and wattle panels — traditional fencing, garden screens and raised-bed edging.
- Beanpoles and pea sticks — the reason many people start coppicing in the first place.
- Plant supports — hoops, obelisks and tripods for herbaceous borders.
- Spars and binders — for thatching and hedge laying.
- Kindling and charcoal — offcuts and crooked stems earn their keep in the log basket.
- Dead hedges and habitat piles — brash stacked in a line makes a stock-proof barrier and a home for beetles, hedgehogs and wrens.
Your First Winter's Work
Start with one stool, ideally an overgrown one that has not been touched for years and is crying out for attention. Cut it on a dry, frost-free day in January, keep your saw sharp, and take your time over the height and the angle of every cut. Note the date in a notebook, and roughly how long the best rods were.
Then leave it alone and watch. By May you should see a ring of new shoots pushing up around the rim of the stool, and by autumn they will be taller than you expected. Next winter, cut a second stool, and keep going until you have a rotation. Give the regrowth protection from deer and rabbits if you have them about — a ring of brash or a simple guard is usually enough — and check with your local wildlife trust before cutting in ancient woodland where dormice are known.
Photo: jonaszara / Pixabay